Getting Started in Catch a Brainrot - First Hour Walkthrough

Catch a Brainrot released July 10, 2026, developed by Indieun x Zv_u (their second game together after Squid Experience). It's a Pokemon-style creature-collector where the catchable roster is the Italian-brainrot meme cast - Ballerina Cappuccina, Tung Tung Tung Sahur, Glorbo Fruttodrillo, Trippi Troppi and dozens more.
This guide covers your first hour: what to do the moment the tutorial ends, which building to walk into first, and the two decisions - which box to buy, whether to sell or bank a brainrot - that shape your early progression.
Step 1 - Finish the tutorial and claim your starter
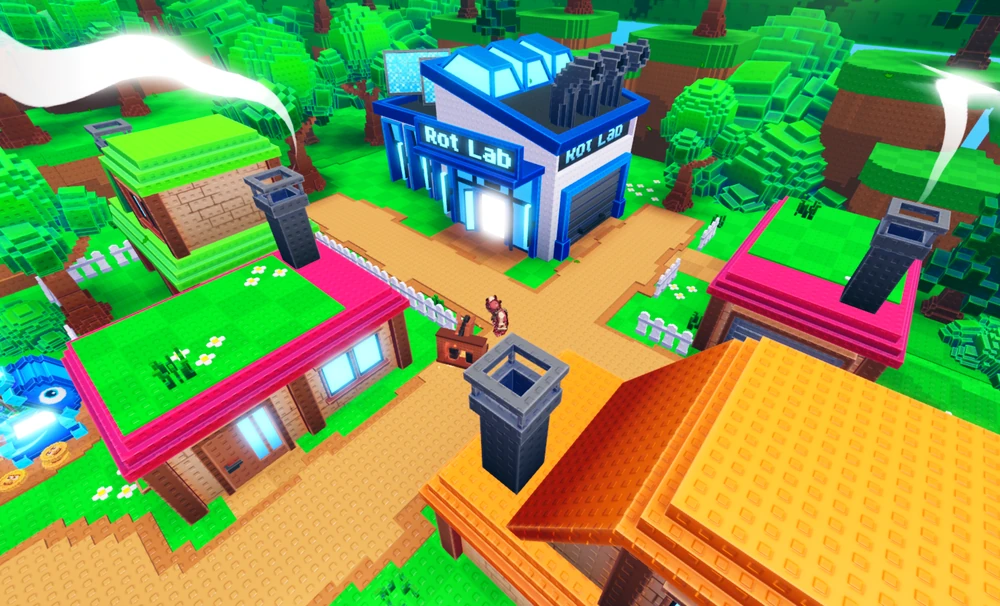
Your first stop is the Rot Lab, where you receive your starter brainrot. The tutorial also hands you an "illegal box," which is currently locked/decorative - you can't open it, and that's not a bug.
The tutorial starter isn't competitive - top players don't run it in their active party. Keep it in storage rather than selling it, but don't build your first hour around it.
Step 2 - Learn the map and warp to Rot Center
The Rot Center is the game's Pokemon Center: free healing for your whole party, the box shop, and brainrot storage. Open the map and tap the Rot Center marker directly to warp there - the fastest way to heal mid-run.
Inside the Rot Center you will see three catching boxes on the shelf. The bottom two are locked at level 1; unlocking them is one of the two clearest goals in the early game.
Step 3 - Understand catching before you spend any coins
The catch rule the tutorial doesn't spell out: hitting a brainrot down to low HP before throwing a box is what lands the capture. A captured brainrot also pays roughly 5x more coins on sell than one you defeated without catching - so catch, don't kill.
Each catching box also has a level cap: Rot Box up to level 9, Silver Box up to level 15, Gold Box up to level 22. Below your box's cap, the capture fails even at 1 HP - keep your box tier ahead of the zone you're farming.
Step 4 - First shopping trip in the Rot Center
The three catching boxes have concrete Robux and coin prices:
- Rot Box - 15 Robux or 31 coins - no level requirement (the tutorial starter box) - catches up to level 9
- Silver Box - 45 Robux or 197 coins - unlocks at account level 2 - catches up to level 15
- Gold Box - 90 Robux or 701 coins - unlocks at account level 6 - catches up to level 22
- Snow Box, Snowman Box, Miner Box and Frozen Box sit on the Ice Zone shelf in Area 2 Zone 1: level 9/681 coins, level 13/70 Robux or 1,140 coins, level 17/110 Robux or 1,680 coins, and level 20/140 Robux or 2,250 coins
- Infinity Box - 380 Robux, offered on the catch screen itself, guarantees the capture regardless of level or HP - the tool to reach for on a rare or boss-tier target when normal boxes keep failing
Step 5 - Rarities: how to tell what is worth catching
Wild brainrots glow in a color that maps to rarity, and rarity sets the sell multiplier: Common (no glow), Uncommon (green glow), Rare (blue glow) and Epic (most valuable overworld tier). Rarer brainrots also spawn at higher levels, which stacks its own coin bonus on top of the rarity multiplier.
In practice this means the fastest coin-per-minute route is: sweep any Rare or Epic that spawns, catch (do not kill) it, and sell the ones you already have in your index. Duplicates are what you monetize; uniques are what unlock XP.
Step 6 - Fill your Brain Index (the XP loop nobody explains)
Every new brainrot species you catch counts toward the Brain Index and awards XP - the gate on Silver and Gold box unlocks. Grinding the same species won't unlock better crates; variety will, so catch one of every species in your current zone before moving on.
Step 7 - Zone 2 and the key gate
Zone 1 of Area 1 caps out around level 12. Zone 2 starts at roughly level 18 (already Rare tier) - worth moving to the moment you can afford the gate.
The gate is three Trainer NPCs, each with a coin buy-in - roughly 970, 1.1k and 1.3k coins, about 2.5k total. A single sold Epic around level 12 pays roughly 2.6k coins, enough to fund the whole unlock. Level-10 brainrots can solo all three fights.
Winter Arena progression
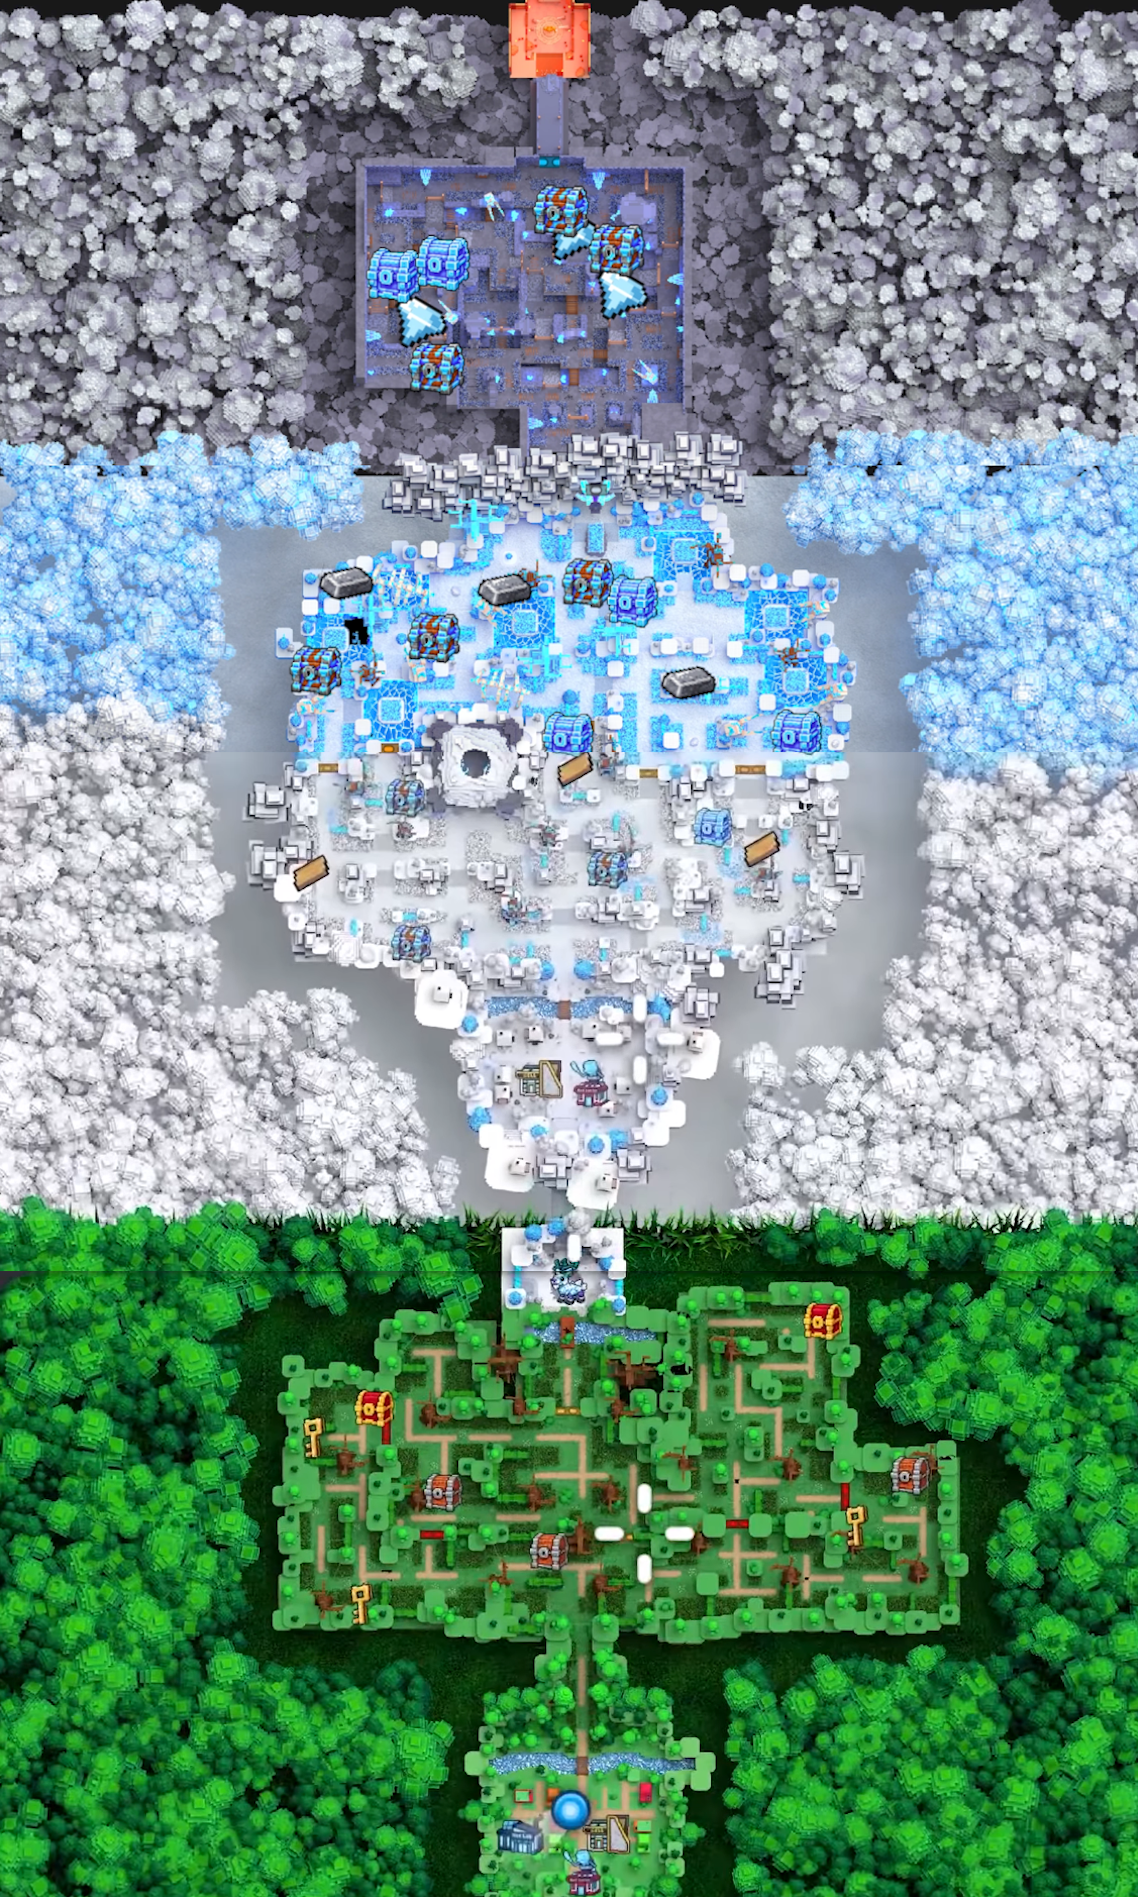
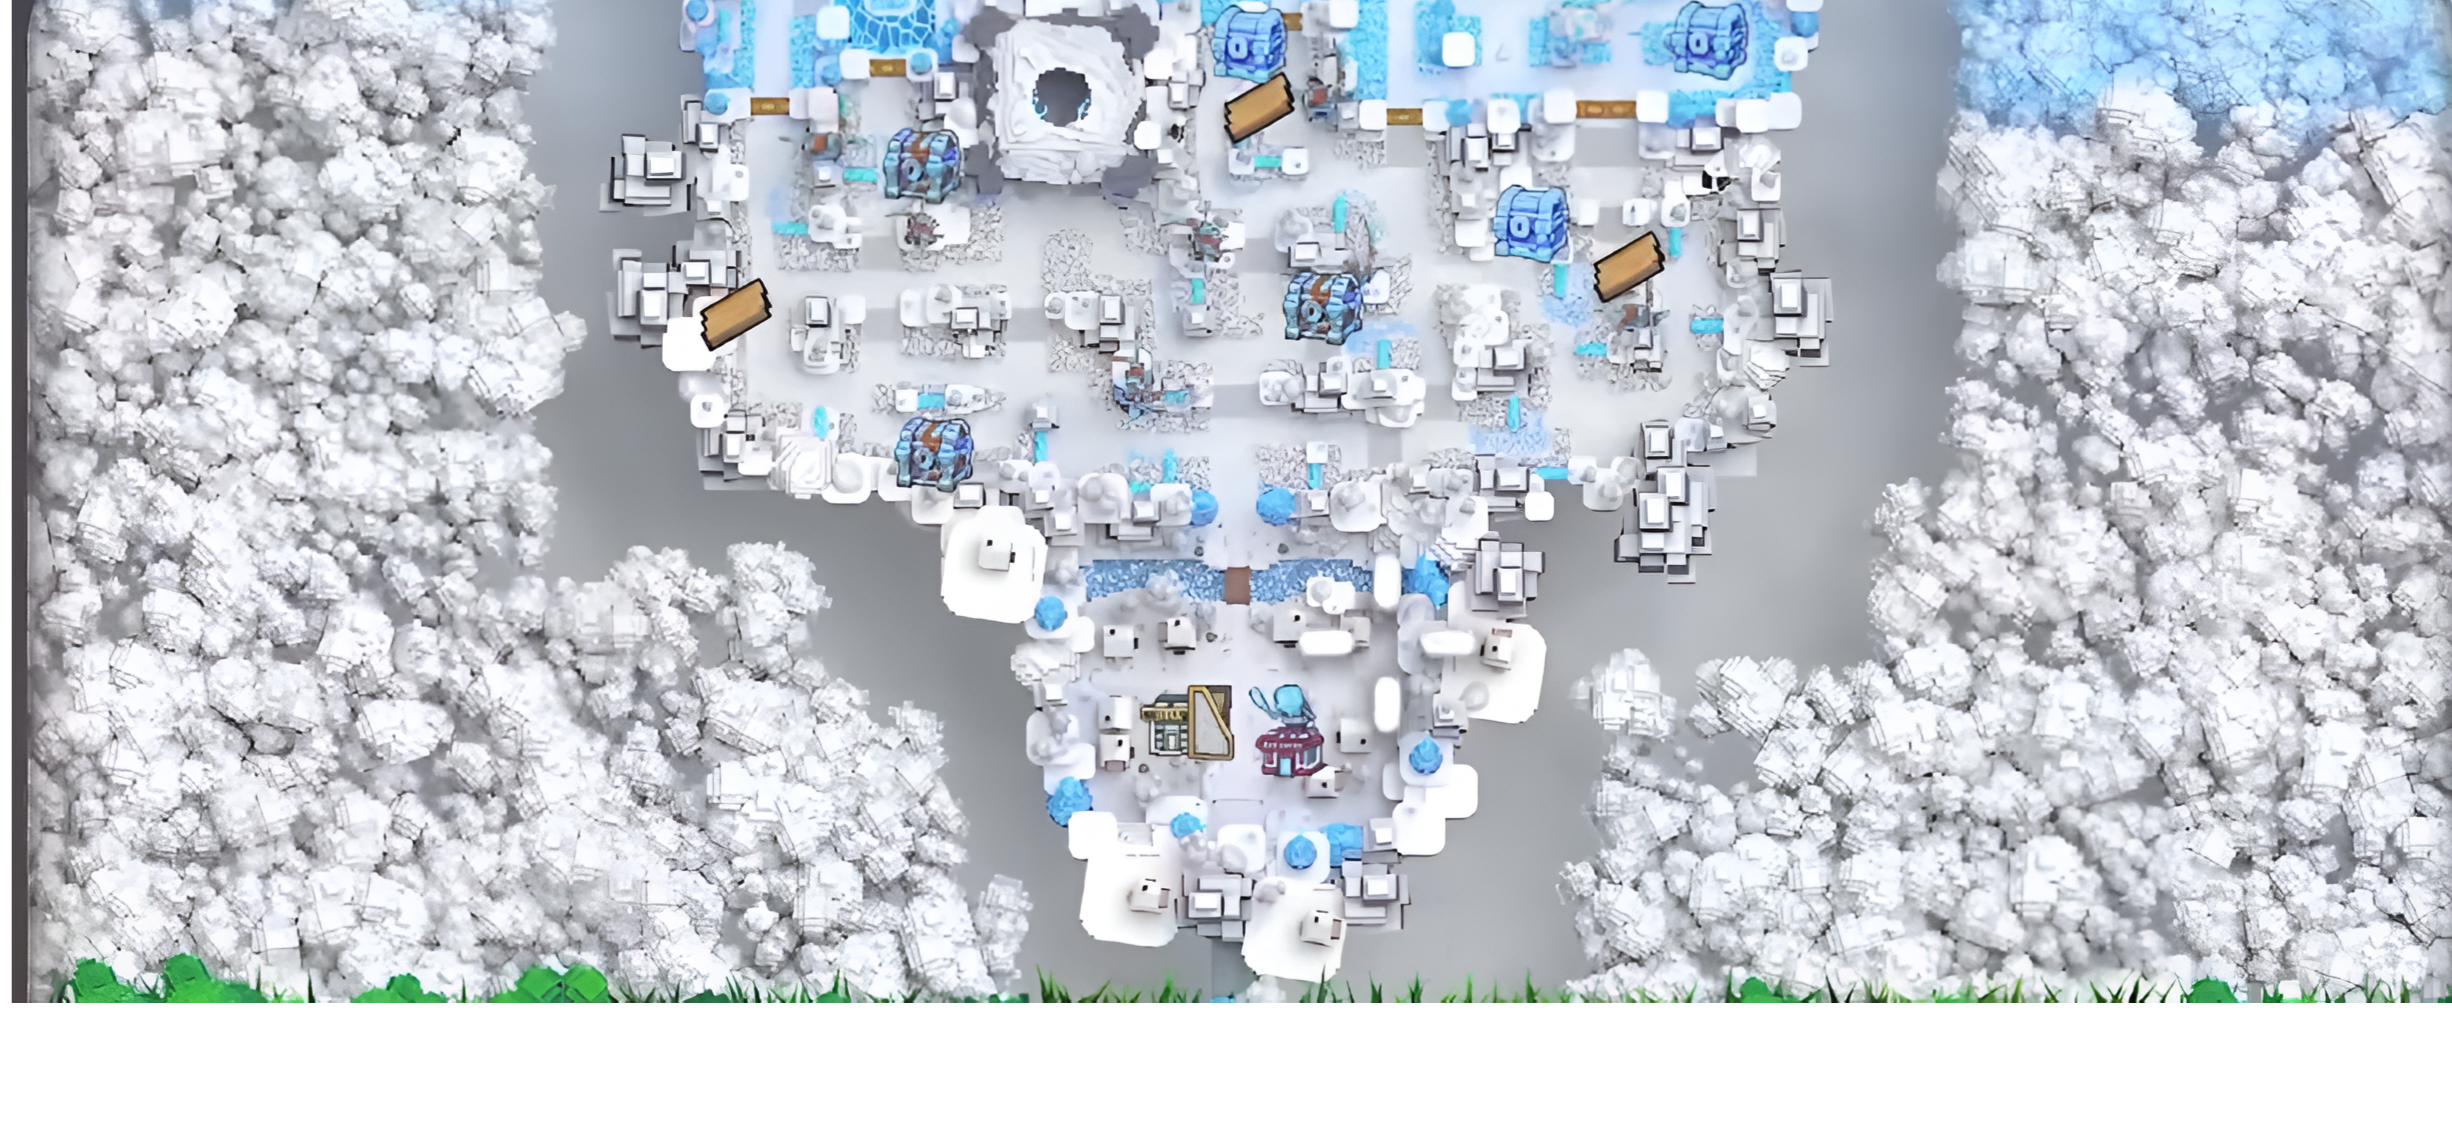
The game has two numbered Areas: Area 1 and Area 2, the Winter Arena. Area 2 contains three wild zones, ending with the Quarry.
To enter Winter Arena Zone 2, upgrade the Pickaxe with Cocofanto Elephanto, Trulimero Trulicina, and 30,000 Frostcoins. Zone 3 - Quarry leads to the separate final chamber.
Picking a starter, and the Player XP numbers behind leveling
The three starters are Boneca Ambalabu, Frulli Frulla and Tung Tung Tung Sahur. Boneca Ambalabu and Tung Tung Tung Sahur both open with Shield (the strongest early defensive move) plus Bomb (a strong early hit) - a stronger combination than Frulli Frulla's opening moveset. It's a short-term edge only; none of the starters stay in a competitive player's active party long-term.
Player XP - the account-level track that unlocks Silver/Gold boxes - pays a rarity-based reward on each new Brain Index entry: Common +50 XP, Uncommon +75 XP, Rare +100 XP, Epic +150 XP. A repeat-capture achievement pays the same reward again on a species' second catch, so running new-species hunting and achievement completion together is the fastest way to stack XP.
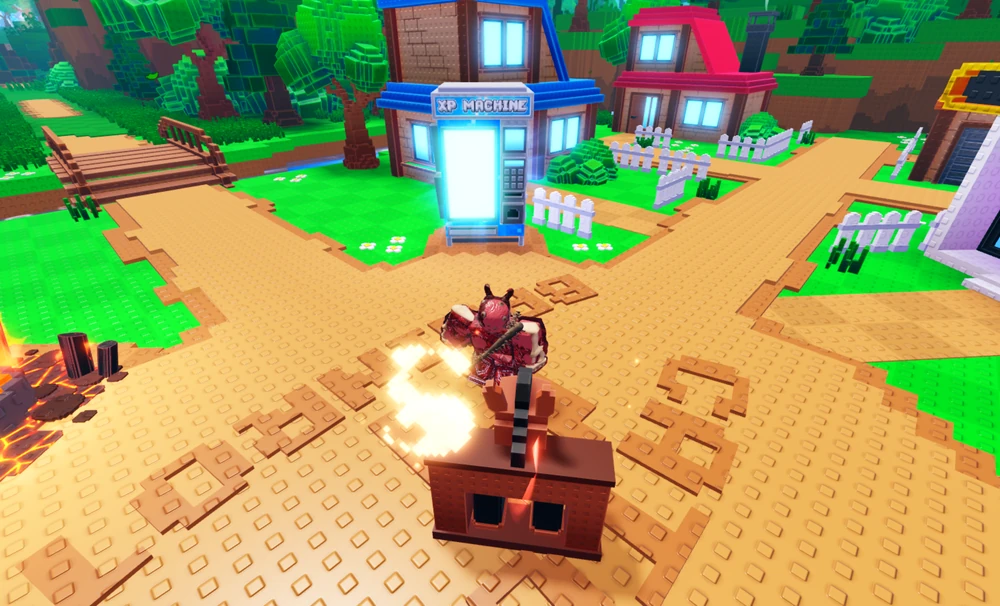
Coins: the three ways to farm them
Beyond the core catch-and-sell loop, there are three other coin sources, each suited to a different situation:
Killing wild brainrots without catching them is the fastest method when you're out of boxes, though the payout scales down hard - a fallback, not a route to build around.
Capturing and selling stays the most profitable method per brainrot, paying roughly 5x more than a kill - for a quick cash injection, grab cheap boxes and clear a run of low-level wilds nearby.
Chests scattered around the map are a third, passive source: opening one drops coins and boxes, they refresh after a cooldown, and there's no limit on how many times you can open the same chest - worth a detour any time you pass one.
First-hour checklist
The tight version of everything above, in the order you should do it:
- Finish the tutorial in the Rot Lab, keep the starter in storage
- Warp to Rot Center via the map (tap the marker directly)
- Start catching every unique species in Zone 1 - never kill, always catch
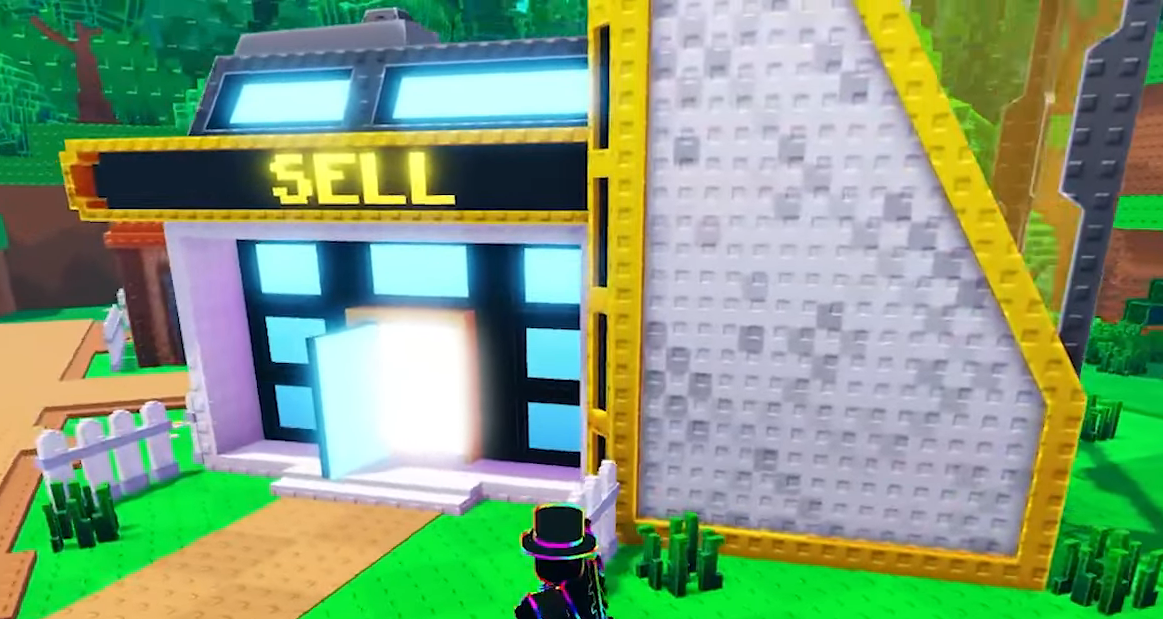
- Sell duplicates at the Sell building; hoard uniques for the index and XP
- Once you hit account level 2, buy a Silver Box (197 coins is much cheaper than 45 Robux)
- Push toward account level 6 and the Gold Box before challenging any Trainers
- Save ~2.5k coins for the three Zone 2 Trainer battles
- Enter Zone 2, replace your team with the level-18 Rares that spawn there, and repeat the loop
Gallery
Click any image to enlarge.
FAQ
What is the fastest way to make money in Catch a Brainrot?
Catch (don't kill) Rare-glow and Epic-glow brainrots and sell them at the Sell building. Capturing pays roughly 5x more than killing, and higher-rarity brainrots spawn at higher levels, which stacks an extra coin multiplier.
Which starter brainrot should I pick?
Boneca Ambalabu, Frulli Frulla or Tung Tung Tung Sahur - it doesn't matter much long-term since none stay in a competitive active party. Boneca Ambalabu and Tung Tung Tung Sahur open with Shield and Bomb, a stronger short-term combo than Frulli Frulla.
Why can't I use the 'illegal box' from the tutorial?
It's currently a placeholder with no active function - it shows up in your inventory after the tutorial but does nothing yet. This is expected behavior, not a bug.
What does the account level actually unlock?
Better catching boxes at the Rot Center (Silver at level 2, Gold at level 6) and access to purchasable eggs. Account XP comes mainly from catching new species for your Brain Index, not repeat catches.
How do I unlock the next zone?
Collect three keys and pay to challenge the three Trainer NPCs at the zone boundary. In Zone 1 they cost roughly 2.5k coins total and can be soloed with level-10 brainrots.
Can I teleport around the map?
Yes - open the map and tap the Rot Center marker to warp there for free, the fastest way to heal mid-run.
Source-checked
This guide is written and source-checked by GuideDex staff against in-game testing and primary sources. updated · GuideDex staff. Report a correction.