Catch a Brainrot Areas & Zones
3 entriesArea 1 and Area 2 (the Winter Arena) - the game's two numbered progression zones, with gate requirements and documented brainrot rosters.
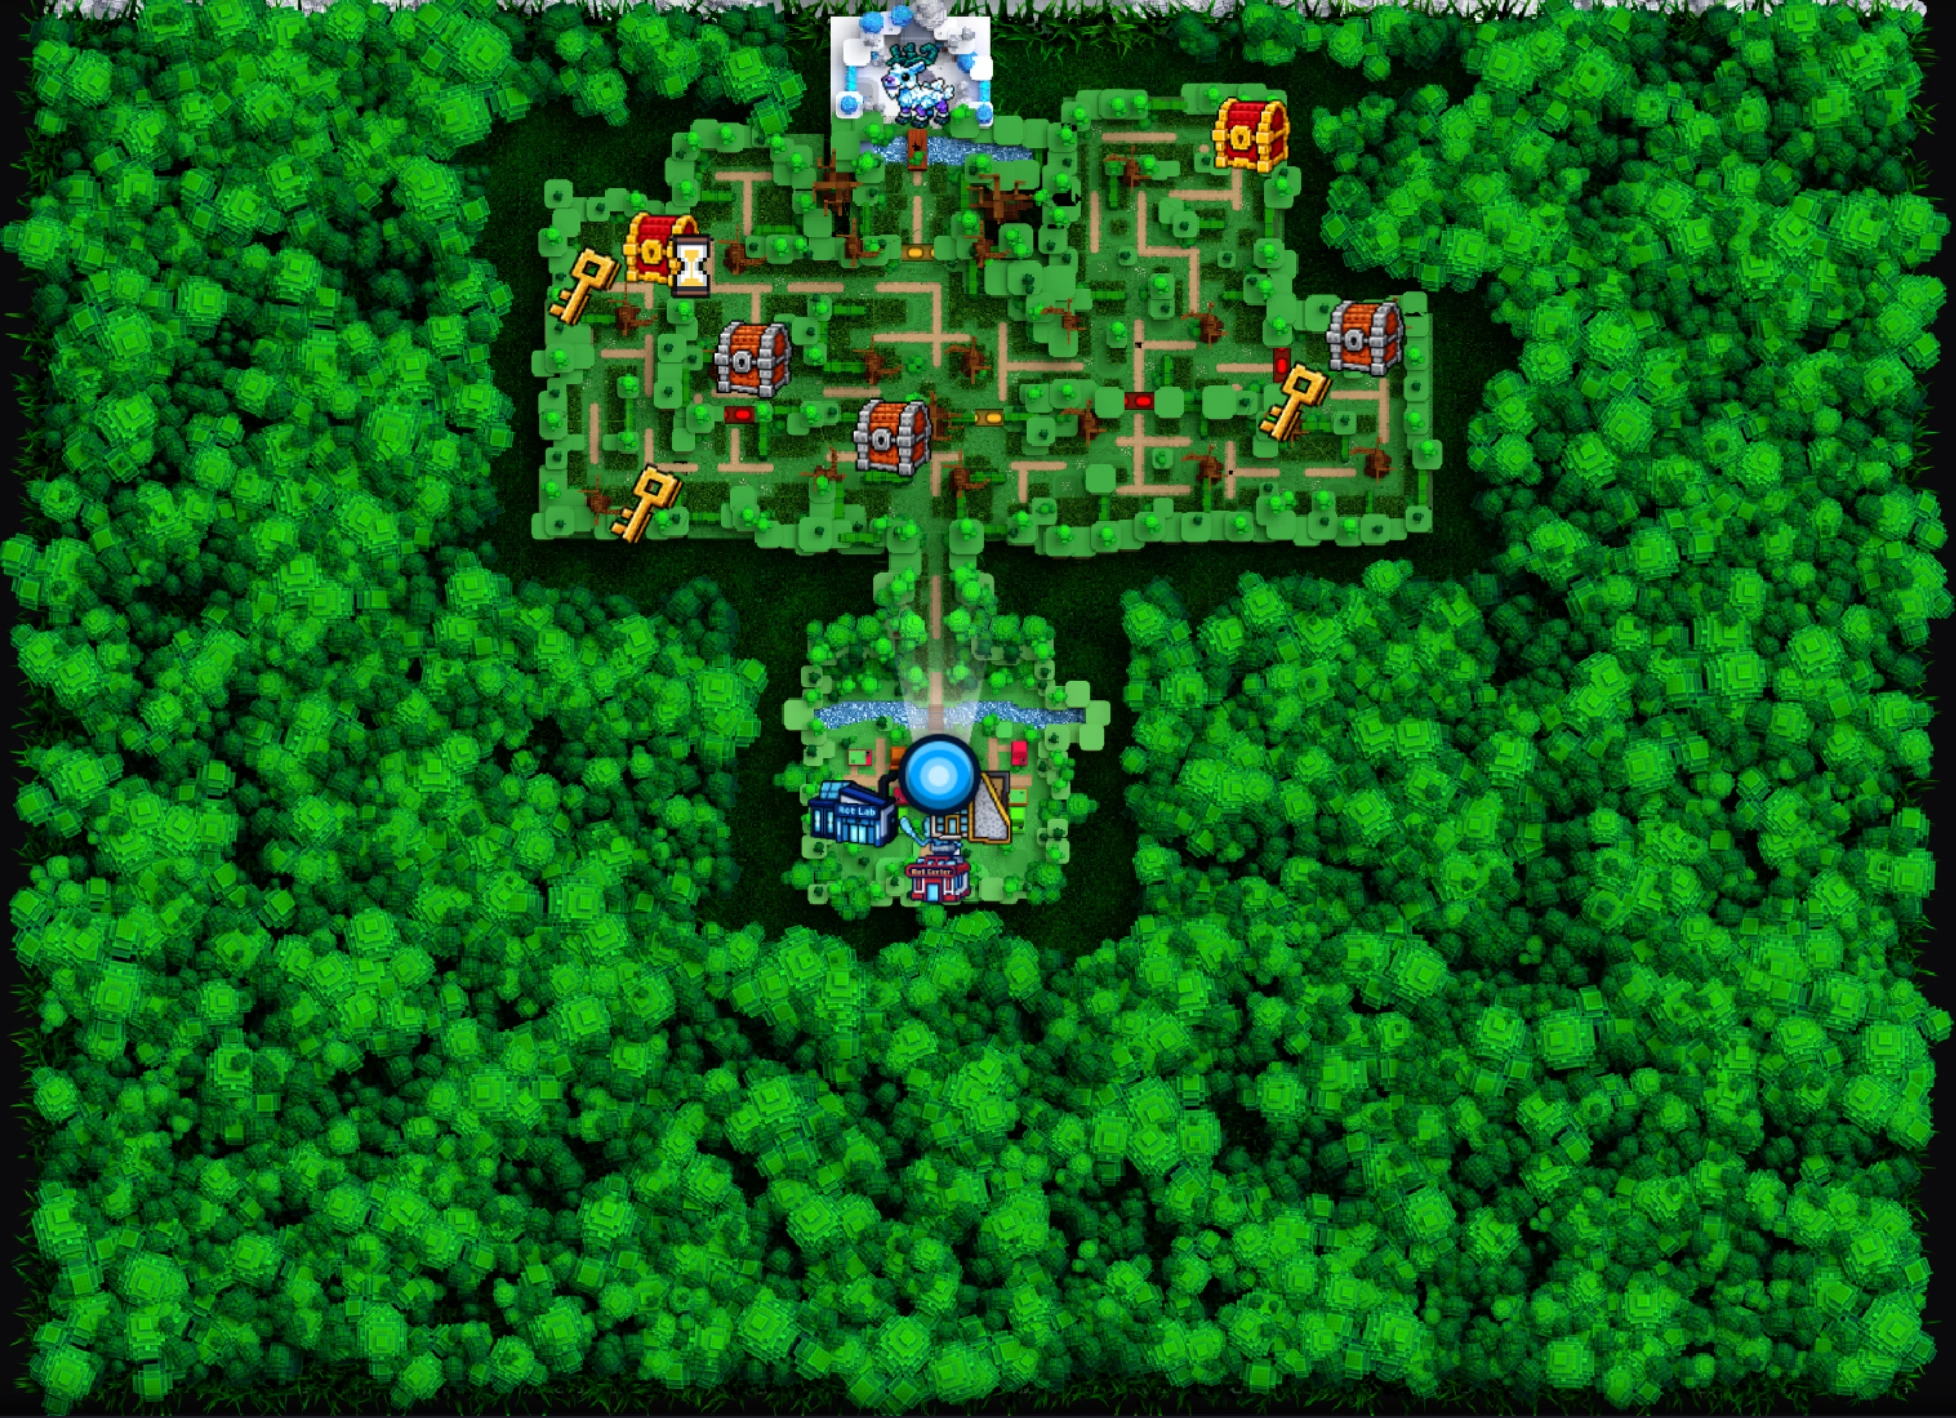
Area 1
Area 1 is the starter zone of Catch A Brainrot, home to the Rot Center, Rot Lab and the game's first wild brainrots.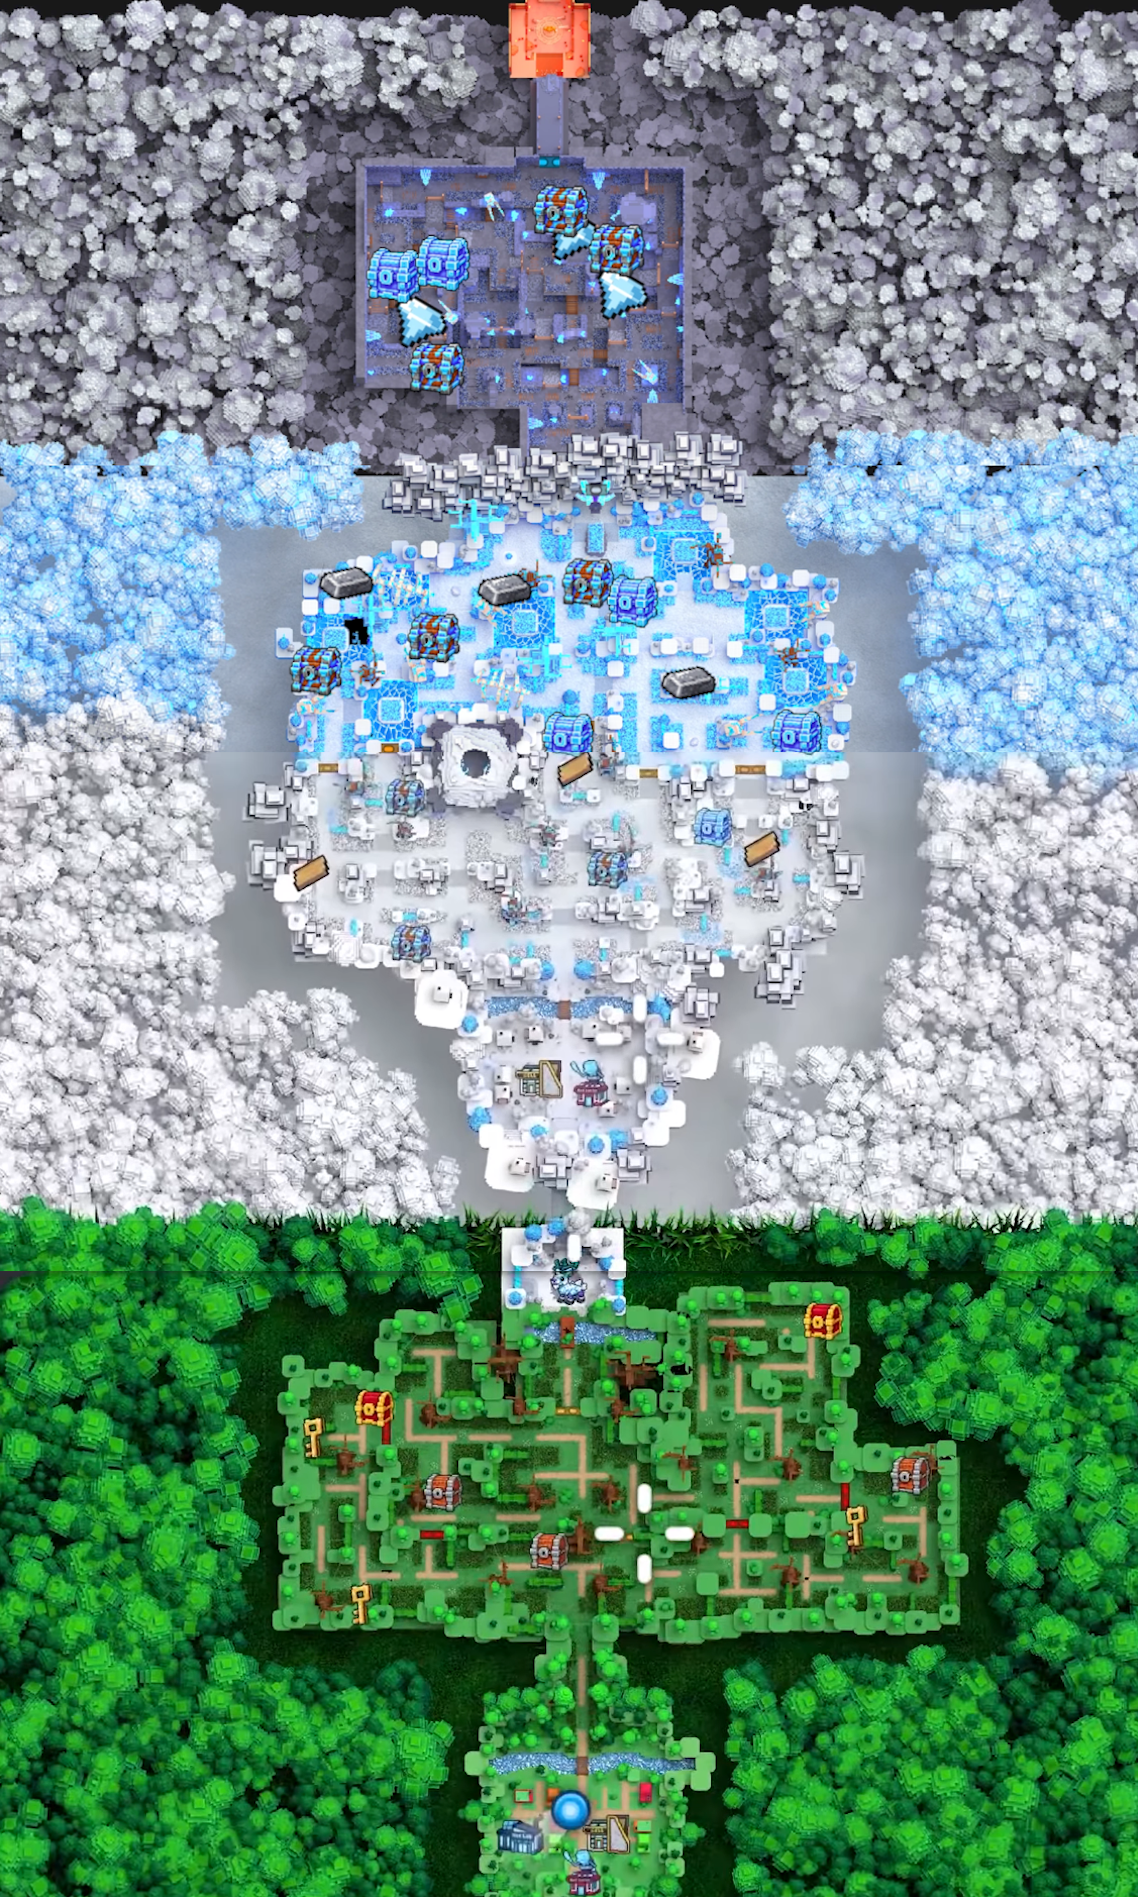
Full Map
The Full Map connects Area 1 and Area 2, including the Rot Center, Rot Lab, Sell building, and Winter Arena.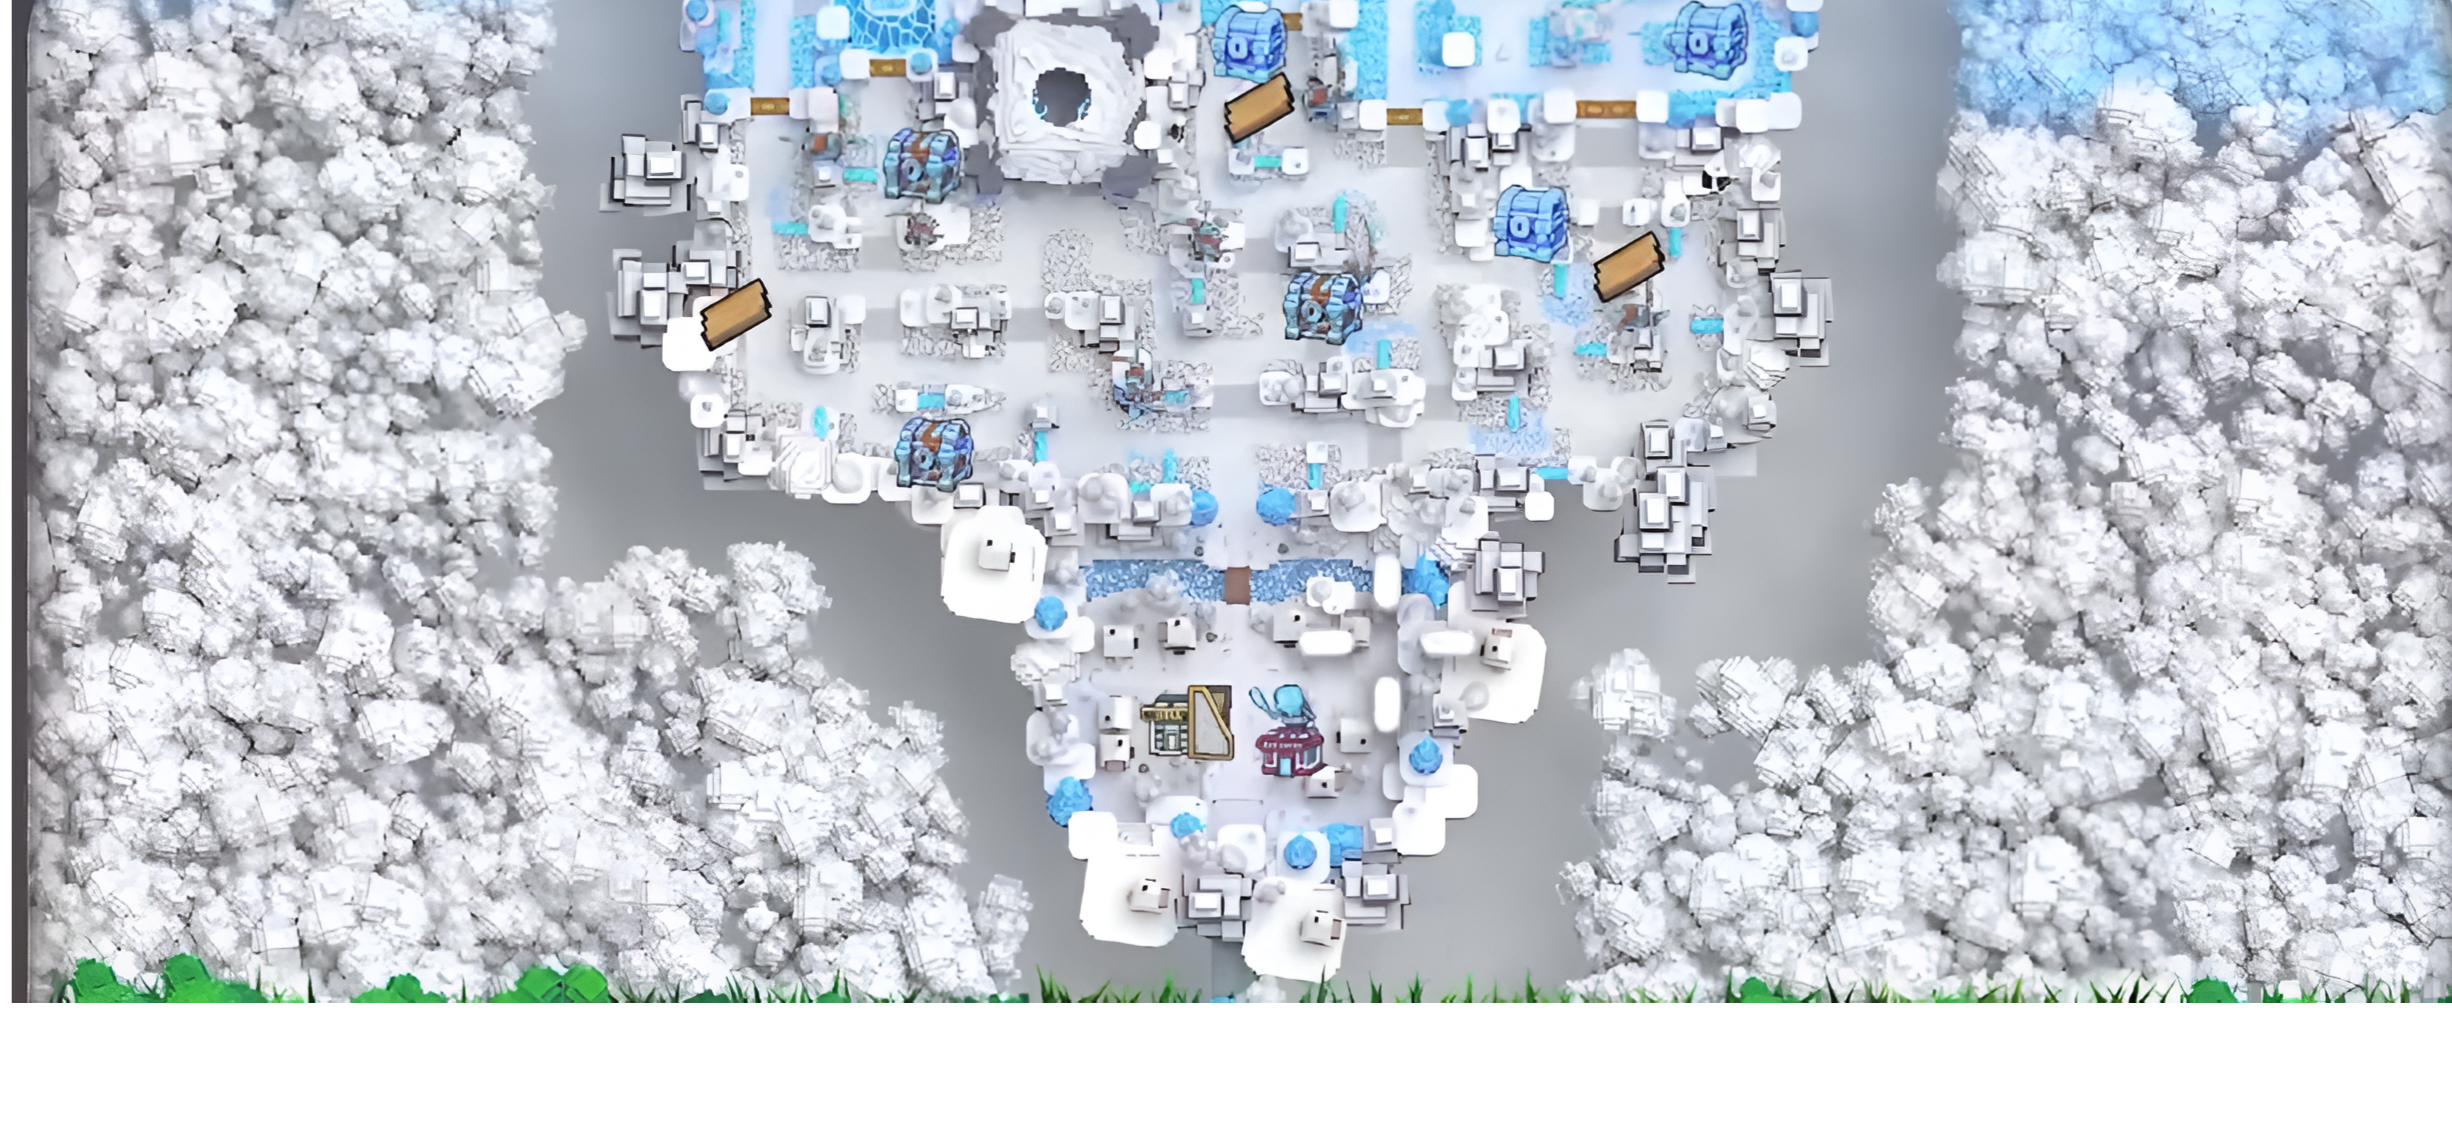
Snow Forest (Area 2)
Snow Forest is Area 2 - three wild zones plus a final trainer-and-boss chamber, all Ice element.